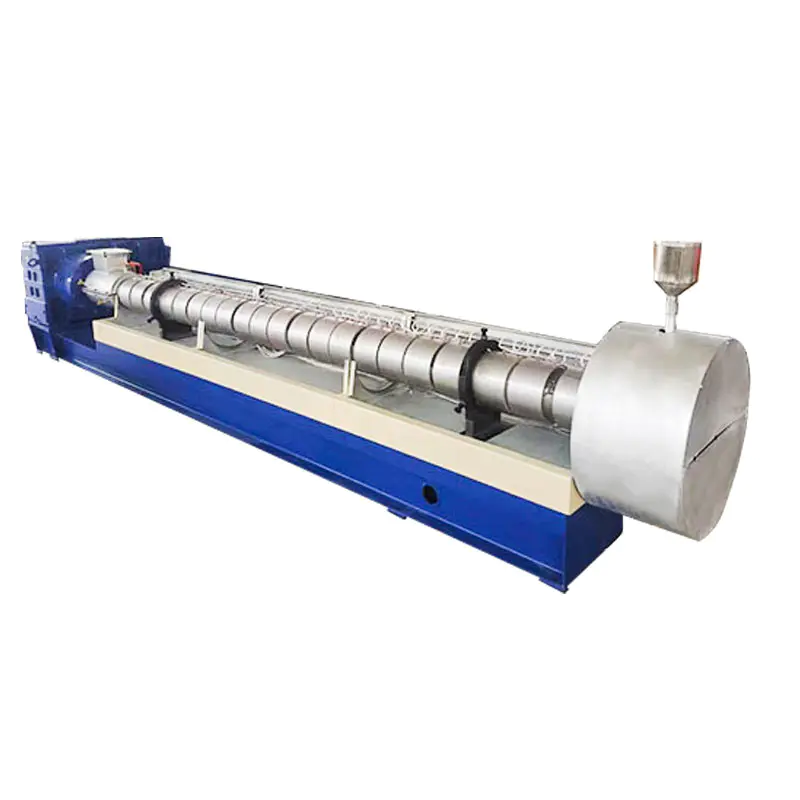
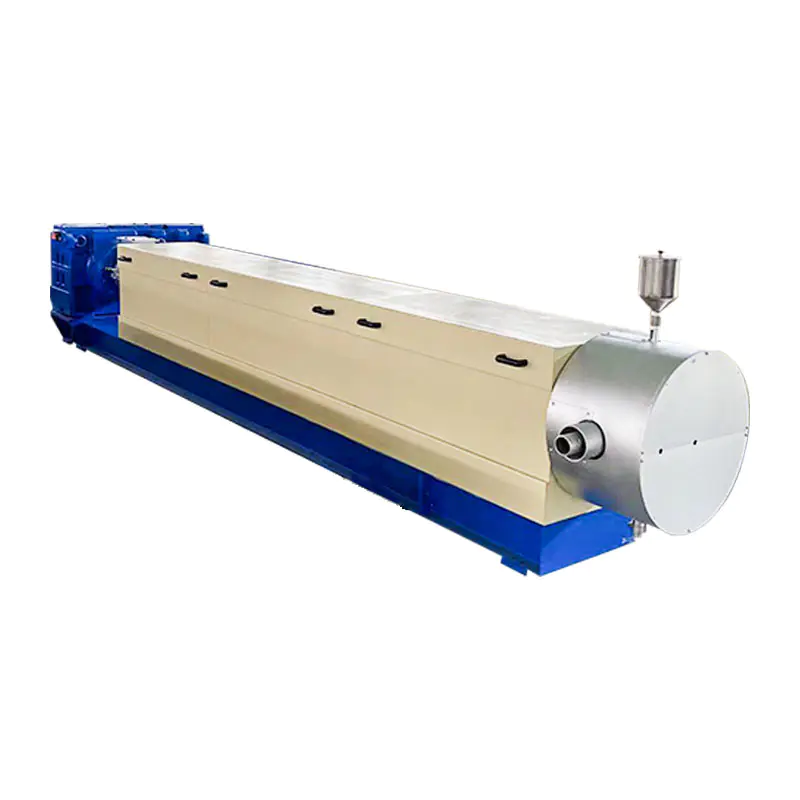
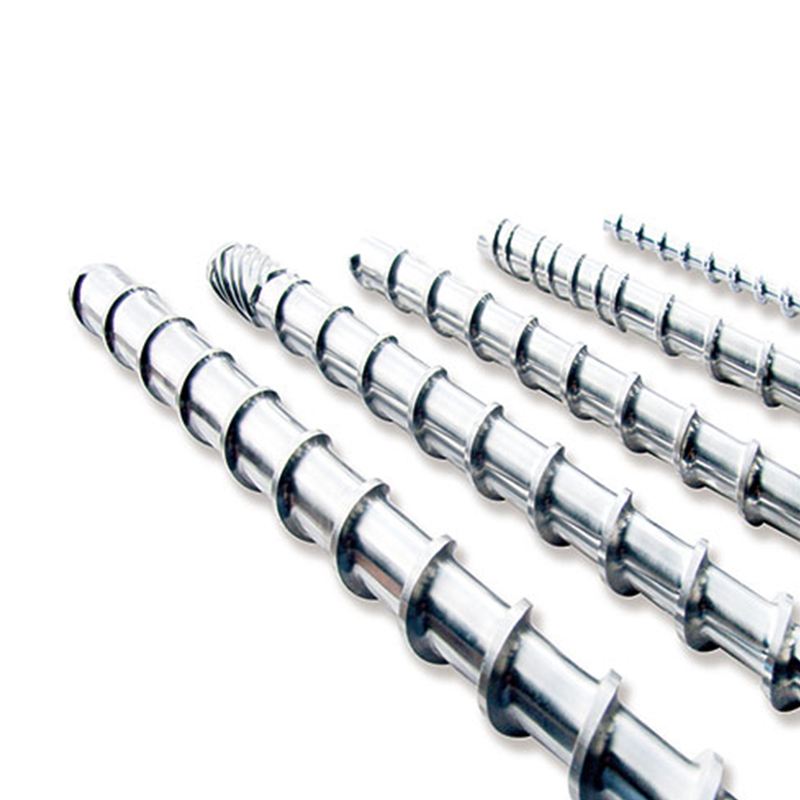
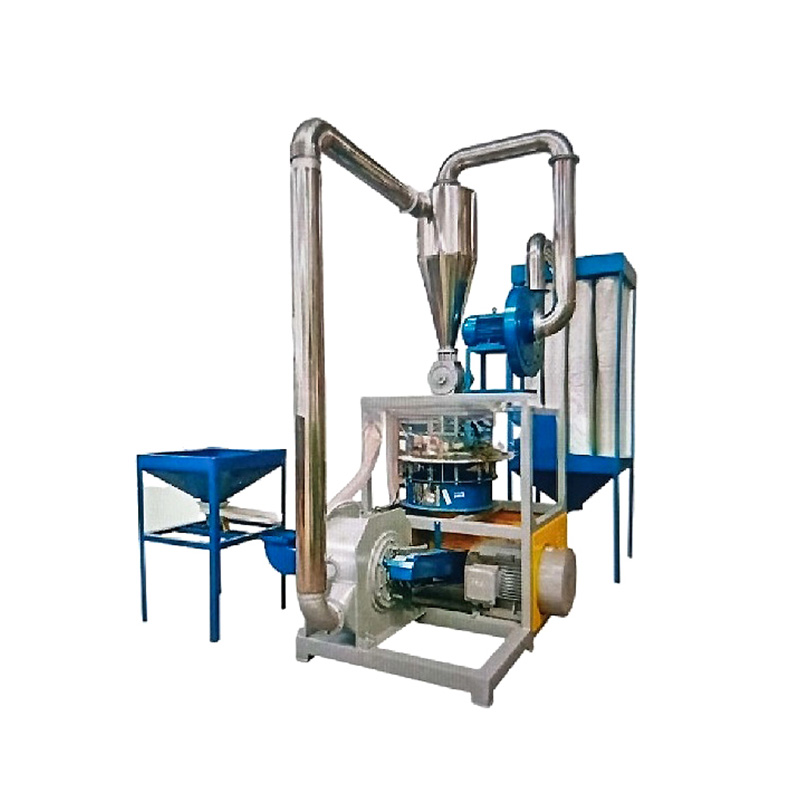
Conical Screw Barrel are essential workhorses in demanding polymer processing applications, particularly compounding and masterbatch production. However, their unique geometry compared to parallel screws presents specific challenges. Understanding how to diagnose and resolve common conical screw and barrel issues is crucial for maintaining productivity, product quality, and equipment longevity.
1. Symptom: Fluctuating Output or Surging
- Possible Causes:
- Inconsistent Feed: Bridging in the feed hopper, erratic feeder performance, or material hang-up.
- Wear in Feed Section: Excessive wear in the early conveying zones (typically flights in Barrel Section 1-2 or corresponding screw elements) reduces intake capacity.
- Poor Temperature Control: Significant temperature deviations in the initial barrel zones hinder material softening and conveying. Malfunctioning heaters, sensors, or cooling.
- Improper Screw Design/Configuration: Mismatched screw design for the material's bulk density or flow characteristics.
- Troubleshooting Steps:
- Verify Feed: Observe hopper flow, ensure feeder calibration and consistency (check settings, material bridging). Clean feed throat if necessary.
- Check Temps: Verify setpoints vs. actual readings on feed and compression zone controllers. Inspect thermocouples and heater bands.
- Assess Wear: Schedule inspection for excessive clearance in the feed and early compression sections. Measure screw diameters and barrel bores if possible.
- Review Screw Setup: Consult OEM documentation to confirm the screw configuration suits the material being processed.
2. Symptom: Poor Melt Quality (Unmelts, Gels, Inhomogeneity)
- Possible Causes:
- Insufficient Melting Energy: Low screw speed, excessively cold barrel temperatures (especially in melting/compression zones), or worn kneading/mixing elements.
- Inadequate Mixing: Insufficient distributive or dispersive mixing elements, incorrect positioning of mixers, or worn mixing elements.
- Material Issues: Moisture, inconsistent regrind particle size/distribution, or very high melting point/high viscosity additives.
- Excessive Clearance: Worn screw and barrel surfaces reducing shear and heat generation in the melting/mixing zones.
- Troubleshooting Steps:
- Optimize Temperatures: Gradually increase temperatures in melting/compression zones (avoid degradation). Ensure proper barrel cooling function.
- Adjust Speed: Increase screw RPM moderately to enhance shear heating (monitor torque/motor load & melt temperature).
- Inspect Mixing Elements: Check for wear or damage on kneading blocks and mixing elements. Verify element sequence/length against recommended setup.
- Evaluate Material: Ensure material is dry and regrind is consistent. Review formulation for challenging components.
- Assess Wear: Inspect screw flights and barrel bores in the melting/mixing sections for excessive clearance.
3. Symptom: High Melt Temperature or Overheating
- Possible Causes:
- Excessive Shear: Screw speed too high, excessive backpressure (e.g., tight screens, blocked die), or aggressive screw design (too many restrictive elements).
- Insufficient Cooling: Faulty barrel cooling (jacket clogged, valve issues, low flow/coolant temp).
- Friction: Severe barrel/screw wear leading to metal-to-metal contact.
- Degradation: Material degradation starting, generating heat.
- Troubleshooting Steps:
- Reduce Shear: Decrease screw speed incrementally. Check and clean screen packs/die. Review screw design for overly restrictive elements.
- Verify Cooling: Ensure cooling water flow and temperature are adequate. Check for leaks, closed valves, or clogged jackets.
- Listen & Observe: Listen for unusual scraping/grinding noises indicating metal contact. Check for discolored (browned/blackened) material.
- Measure Clearance: Inspect for wear in high-pressure sections near the die head.
4. Symptom: Excessive Wear Prematurely
- Possible Causes:
- Abrasive Materials: Processing highly filled compounds (glass, minerals, carbon fiber) or corrosive materials without appropriate metallurgy.
- Material Contamination: Metal fragments, sand, or other hard contaminants.
- Poor Screw/Bore Alignment: Misalignment causing uneven contact and accelerated wear.
- Running Dry: Starting up or running without sufficient material feed acting as a lubricant/cushion.
- Excessive Pressure/Contact: Tight clearances combined with high pressure or screw deflection.
- Troubleshooting Steps:
- Material Audit: Review material composition and potential contamination sources (grinders, feeders, raw materials).
- Verify Metallurgy: Ensure screw and barrel materials (nitriding, bimetallic liners, special alloys) are suitable for the processed material.
- Alignment Check: Schedule professional alignment verification of the screw shafts within the barrel.
- Avoid Dry Running: Strictly follow startup/shutdown procedures ensuring material presence before ramping speed.
- Monitor Pressure: Ensure die pressure is within recommended limits. Investigate frequent screen pack plugging.
5. Symptom: High Torque / Motor Overload
- Possible Causes:
- Overfilled Screw: Feeding rate too high relative to screw speed/discharge capacity.
- Excessively Cold Barrel: Material too viscous due to low temperatures.
- Blockage: Plugged screen pack, die, or significant material hang-up inside the barrel.
- Severe Wear/Misalignment: Causing excessive friction/binding.
- Aggressive Screw Design: Too many restrictive elements at high screw speed.
- Troubleshooting Steps:
- Check Feed Rate: Reduce feeder rate and observe torque response.
- Increase Barrel Temps: Raise temperatures moderately in the affected zones.
- Check Discharge: Inspect and clean screen changer and die.
- Reduce Screw Speed: Temporarily decrease RPM to relieve load.
- Inspect for Blockage: If safe procedures allow, attempt to purge. May require disassembly.
- Assess Wear/Alignment: If recurring, schedule inspection for wear or misalignment.
Preventive Measures Are Key:
- Regular Inspections: Schedule periodic shutdowns for thorough screw pull and barrel bore inspection. Measure clearances. Document findings.
- Proper Start-up/Shutdown: Always follow OEM procedures meticulously to prevent thermal shock or dry running.
- Material Handling: Ensure materials are dry, consistent, and free from contaminants. Use magnets or metal detectors.
- Temperature Control: Maintain calibration of thermocouples and controllers. Ensure optimal barrel cooling performance.
- Screw Configuration: Use screw designs validated for the specific material and application. Consult OEM expertise.
- Alignment: Verify screw shaft alignment during major maintenance intervals.


 عربى
عربى


